The Best Fluffy Pancakes recipe you will fall in love with. Full of tips and tricks to help you make the best pancakes.

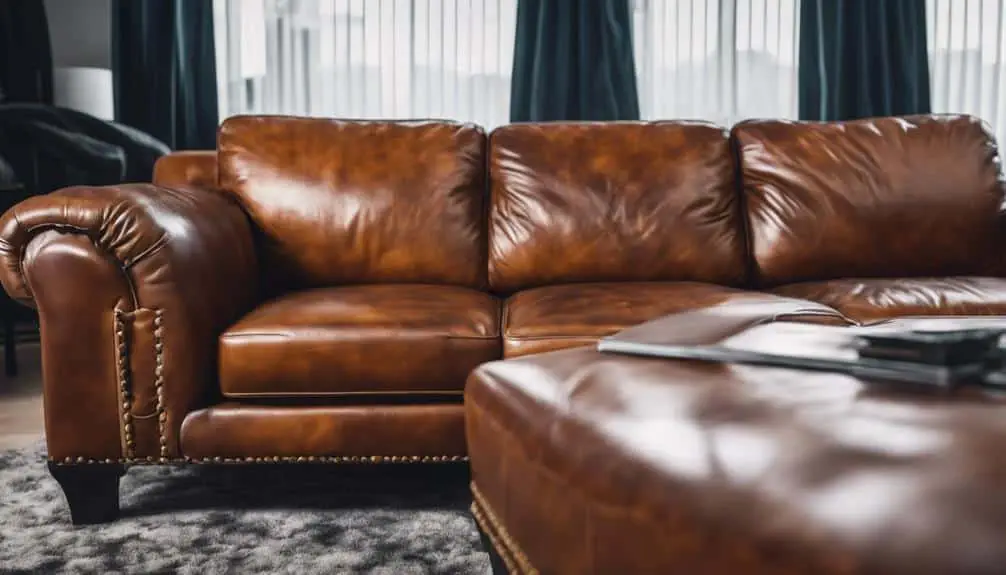
If you've found your favorite leather furniture marred by your feline friend's claws, fret not. Fixing cat scratches on leather can be a straightforward process if approached methodically.
From cleaning and trimming to applying specialized products, these seven easy steps hold the key to restoring your leather pieces to their former glory.
So, if you seek a solution to those unsightly marks that doesn't involve replacing your beloved items, let's embark on this journey together.
Key Takeaways
- Proper leather repair involves cleaning, filling, coloring, and sealing scratches for a seamless finish.
- Following a step-by-step process ensures effective repair and protection against future damage.
- DIY repair saves money and restores leather items to their original beauty.
- Each step, from preparation to final touches, plays a crucial role in achieving professional results.
Preparation
Before diving into the repair process, gather all the necessary materials to prepare for fixing those pesky cat scratches on your leather furniture. Start by cleaning the leather surface to remove any dirt or debris using a leather wipe or cleaner. This step ensures that the area is ready for repair.
Next, carefully assess the scratches to understand the extent of the damage. Trim any loose fibers around the scratched area with scissors to create a smooth surface for the repair.
During this preparation stage, make sure you have proper ventilation in the repair area. Some leather repair materials can emit strong odors or fumes, so good airflow is essential for your comfort and safety. Take your time in this stage to set a solid foundation for the repair process.
Trim Loose Fibres
If you've already cleaned the leather surface and assessed the scratches, the next step is to carefully trim any loose fibers from the scratched area using small scissors or a lighter. Trimming the loose fibers helps prepare the scratched area for repair by creating a smooth surface. This step is crucial in ensuring a successful leather repair. By removing any loose or sticking out fibers, you prevent them from getting caught or further damaged during the repair process. This preparation is essential for achieving a clean and neat surface, ready for the application of leather glue, filler, and colorant.
To highlight the importance of trimming loose fibers, consider the following table:
| Benefits of Trimming Loose Fibers | ||
|---|---|---|
| Prepares the scratched area for repair | ||
| Creates a smooth surface for the repair process | ||
| Prevents further damage during repair | ||
| Ensures a clean and neat surface for applying repair materials | ||
| Facilitates achieving a professional-looking repair |
Apply Leather Binder
To effectively repair cat scratches on leather, begin by applying a layer of leather binder to reinforce and stabilize the damaged area. Leather binder is a specialized adhesive that helps prevent further deterioration of the leather. By applying it in layers, you ensure a strong bond that will provide a smooth finish on the scratched surface. This binder acts as a foundation for other repair materials such as leather filler and colorant to adhere to, making it an essential step in the repair process. Proper application of the leather binder is crucial for a successful and long-lasting repair.
When applying the leather binder, make sure to cover the entire damaged area evenly. Use a brush or a sponge to apply thin, even layers, allowing each layer to dry before adding the next one. This method ensures a secure bond and a professional-looking finish. Take your time during this step to guarantee that the leather binder is applied correctly, setting the stage for the upcoming repair materials to work effectively.
Sanding Process
When sanding the leather, remember to choose 1200-grit sandpaper to gently smooth out scratches and rough areas.
Buff the surface of the leather filler to eliminate any uneven spots for a more polished look.
After sanding, use a leather cleaning solution to clear any sandpaper residue, preparing the leather for color restoration.
Select Sandpaper Grit
Consider using 1200-grit sandpaper to smooth out damaged areas on your leather, ensuring a flawless surface for the repair process. This fine sandpaper grit is ideal for buffing out inconsistencies on the surface of the leather filler.
By sanding the treated area with 1200-grit sandpaper, you're preparing the surface for colorant application as part of the leather repair kit. Remember, thorough cleaning of the sanded area is essential before applying any colorant or filler.
Proper sanding plays a crucial role in achieving a smooth and even surface, setting the foundation for a successful leather repair. Trust the process and take care in this step to ensure the best results in restoring your leather items.
Sand Scratches Gently
Smoothly sanding scratches on leather requires a gentle touch to avoid causing further damage during the repair process. When sanding leather, use a fine sandpaper like 1200-grit to ensure a smooth finish. Here are some key steps to keep in mind:
- Use a Sanding Pad: Opt for a sanding pad to control the pressure and avoid over-sanding.
- Gently Sand Down the Area: Work slowly and methodically to sand down deep scratches without harming the leather surface.
- Focus on Creating a Smooth Finish: Ensure the surface is uniformly sanded to achieve a seamless look.
- Prepare for Colorant Application: Buff out any imperfections left after sanding to ready the leather for colorant.
- Blend for a Professional Look: Proper sanding ensures the colorant blends flawlessly, resulting in a professional finish.
Use Leather Filler
To effectively address deep cat scratches on your leather furniture, applying leather filler in thin layers is crucial for achieving a seamless repair. Leather filler serves as a solution to fill in the damaged areas and create a smooth surface for color matching and sealing.
When applying the filler, remember to do so gently, ensuring each layer is thin to prevent a bulky finish. Sanding the filler between layers is also essential to smoothen out any rough edges and achieve a more polished look. This process may take some time and patience, but the results will be worth it in the end.
Additionally, color matching the filler to your leather furniture is important to ensure a cohesive appearance. Once the filler has been applied, sanded, and color matched, sealing the repaired area will help protect it from future damage and maintain the overall integrity of your furniture.
Apply Leather Colourant
When applying leather colorant, remember the importance of the color-matching process to seamlessly blend the scratch area with the rest of the leather.
Ensure an even application technique by using thin layers to achieve a consistent finish.
Allow each coat to dry completely before adding more or finalizing the repair.
Color Matching Process
For precise application of the leather colorant, prepare a sponge with a coin-sized amount. When matching colors on leather, follow these steps:
- Layer multiple coats of colorant for deeper scratches on leather.
- Use a hair dryer on low heat to speed up the drying process of the colorant.
- Consider applying different shades of colorant for multi-colored leather surfaces.
- Finish the color matching process with a leather color spray and sealant for protection.
These steps will help you achieve a seamless color match on your leather items, ensuring a professional-looking repair. Remember to take your time and follow the process carefully for the best results.
Even Application Technique
Let's now focus on mastering the application technique for a flawless result when applying leather colorant to fix those pesky scratches on your beloved leather items.
Using a sponge, apply a thin, even layer of leather colorant over the dried filler, ensuring smooth and seamless coverage over the scratched area.
To speed up the drying process, gently use a hair dryer on low heat.
If deeper scratches are still visible, don't hesitate to apply multiple coats of colorant, and for multi-colored leather, layer different shades to match the original hue effectively.
Final Touches
Consider applying a leather color spray in thin layers to seal the repaired area for a polished final touch. Start by allowing each layer of the color spray to dry completely before adding the next.
Then, use a clean sponge or airbrush to apply a leather sealant for added protection. Apply 2-3 layers of sealant on the scratched surface to ensure durability.
Finally, finish off with a leather finishing product to provide a final protective layer.
These final touches won't only enhance the appearance of the repaired leather but also prolong its lifespan. By following these steps, you can ensure a professional-looking finish that will protect your leather from future scratches and wear.
Frequently Asked Questions
How Do You Fix Cat Scratches on Leather?
To fix cat scratches on leather, start by cleaning the area, trimming loose fibers, applying leather glue, sanding gently, and sealing with colorant. Prevent future scratches by conditioning the leather, providing cat toys, and understanding cat behavior.
How Do You Fix Animal Scratches on Leather?
To fix animal scratches on leather, start by cleaning the area and trimming loose fibers. Apply leather glue, sand gently, then seal with colorant and finisher for a restored look. Protect with DIY solutions and conditioning.
What Is the Fastest Way to Get Rid of Cat Scratches?
When looking to get rid of cat scratches on leather quickly, consider using instant remedies like a leather re-coloring balm or olive oil for speedy fixes. These rapid repairs can provide immediate results and swift techniques for resolving the issue efficiently.
How Do You Cover up Scratches on Leather?
To cover up scratches on leather, use leather re-coloring balm. Apply it directly on the scratched areas, let it dry, then buff with a cloth. This DIY solution is perfect for minor cat scratches, aiding in leather repair and restoration.
Conclusion
Fixing cat scratches on leather is a manageable task with the right tools and techniques. By following these 7 easy steps, you can restore your leather furniture to its former glory. Remember to take your time, be patient, and repeat the process for deeper scratches.
With a little effort and care, your leather pieces can look as good as new again. Don't forget to implement preventative measures to avoid future scratches.


