The Best Fluffy Pancakes recipe you will fall in love with. Full of tips and tricks to help you make the best pancakes.
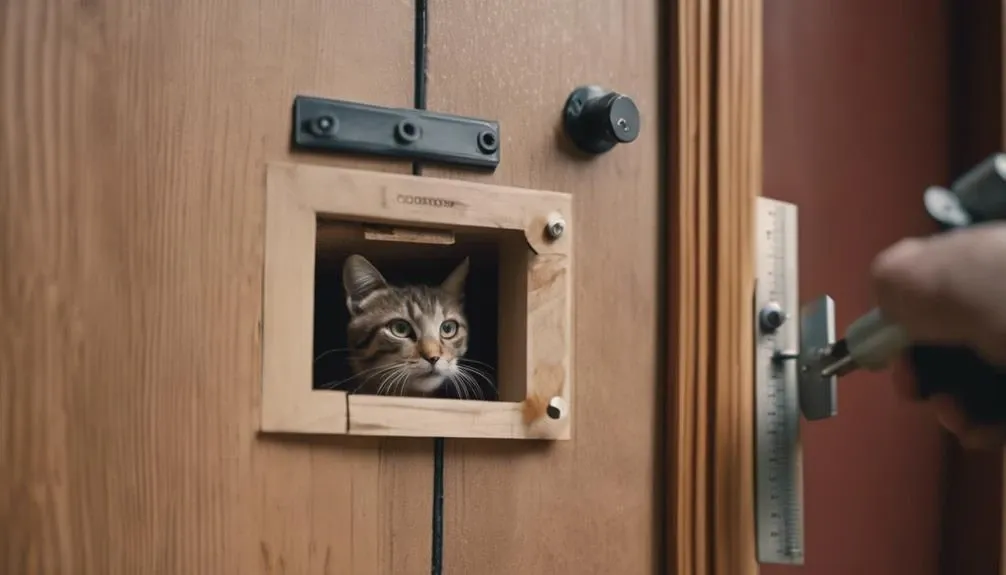
Imagine effortlessly granting your feline companion the freedom to roam in and out of your home with ease. The process of installing a cat flap in your door is straightforward and can be completed in just a few simple steps.
From measuring the door to testing the functionality, each stage is crucial in ensuring your cat adapts smoothly to their newfound independence. But what about choosing the right cat flap for your specific needs?
Keep reading to discover the key factors to consider for a successful installation.
Key Takeaways
- Accurately measure and cut the door for precise cat flap placement.
- Choose a suitable cat flap with locking features for security.
- Ensure weatherproofing to protect your home and maintain durability.
- Test, maintain, and troubleshoot the cat flap regularly for optimal functionality.
Measure the Door
When measuring the door for installing a cat flap, it's crucial to accurately determine the height of your cat's stomach for proper placement. This ensures that your feline friend can easily access the flap without any difficulty. Start by measuring the height from the ground to your cat's stomach to determine the ideal placement on the door. Finding the perfect height will make it comfortable for your cat to go in and out without any issues.
Next, locate the center of the door width to ensure proper alignment of the cat flap. This step is essential to guarantee that the cat flap is positioned symmetrically, making it easier for your cat to navigate. Use the provided cat flap template to mark the outline on the door accurately. Once the template is aligned correctly, drill a hole in each corner to prepare for cutting out the cat flap. This prepping step ensures a precise and clean cut when you proceed with installing the cat flap. Remember, accuracy is key when measuring and aligning the door for the installation process.
Mark Cutting Lines
To ensure a precise cutout, carefully mark the cutting lines on the door surface using the provided cat flap template measurements. This step is crucial in achieving a clean and accurate installation. Start by placing the template on the door according to the instructions, ensuring it's centered and level. With a pencil or marker, trace the outline of the template onto the door, marking the cutting lines clearly.
Take your time to double-check the marked cutting lines to ensure they align perfectly with the template. This attention to detail will result in a professional-looking finish. Confirm the placement of the cutting lines before moving on to the next step of cutting out the door section for the cat flap.
Now that you have marked the cutting lines accurately, you're one step closer to providing your feline friend with easy access in and out of your home. Next, you'll proceed to cut out the door section along the marked lines using a drill.
Cut Out Door Section
You're about to tackle the crucial step of cutting out the door section for your cat flap installation.
Remember to measure the door thickness accurately to ensure a proper fit for the flap.
Choose the correct flap size and mark the cutting area diligently before making any cuts.
Measure Door Thickness
For a secure fit, ensure the cat flap matches the thickness of your door before proceeding with the cutout. Here are some essential steps to help you measure your door thickness effectively:
- Measure the thickness: Use a tape measure to determine the exact thickness of your door.
- Choose the right cutting tool: Select a suitable cutting tool that can create a precise cutout in the door.
- Ensure proper dimensions: Make sure the cutout is slightly larger than the cat flap to allow for proper installation.
- Double-check the measurements: Verify the dimensions to avoid any errors during the cutting process.
Following these steps will help you achieve a perfect fit for your cat flap while ensuring a clean and professional installation.
Choose Flap Size
Consider your cat's comfort and ease of movement when choosing the size for the cat flap cutout in the door. Measure your cat's stomach height to ensure the door size is appropriate.
The cat flap cutout should be slightly larger than your cat's size to allow for comfortable passage. Additionally, take into account the width of the cat flap to accommodate your cat's body size for easy entry and exit.
It's crucial to select a cat flap size that fits your cat's dimensions perfectly, preventing any restrictions or discomfort when using the door. By choosing the right cat flap size, you can ensure that your feline friend can move in and out freely and comfortably.
Mark Cutting Area
Now that you have determined the appropriate cat flap size based on your cat's measurements, it's time to mark the cutting area on the door for installation.
To ensure a successful installation, follow these steps carefully:
- Measure the cat's stomach height on the door to determine the cutting area.
- Find the center of the door width to mark the precise location for cutting.
- Attach the cat flap template securely to the door before cutting.
- Ensure the template is aligned correctly before drilling holes in each corner.
Smooth Edges With Sandpaper
Wondering how to achieve a smooth finish around the edges of your cat flap hole after cutting it out? Sanding the edges with fine-grit sandpaper is the key.
This process helps to smooth out any rough or jagged edges left from cutting the hole in your door for the cat flap. It's crucial to be cautious and avoid excessive sanding to prevent altering the size or shape of the opening.
By carefully sanding along the cutout edges, you ensure a polished finish for a neat and clean appearance. Using sandpaper is a simple yet effective way to tidy up the edges of the cat flap hole, giving it a professional and finished look.
Drill Screw Holes
When drilling screw holes for your cat flap, remember to measure the hole placement accurately to ensure a proper fit. Use the appropriate tools and drill bit size to prevent any damage to the door surface.
This step is crucial to securely fasten the cat flap in place, providing a safe entry and exit for your feline friend.
Measure Hole Placement
Have you measured your cat's stomach height to determine the correct placement for the cat flap? To ensure a successful installation, follow these simple steps:
- Find the center of the door width to guarantee symmetrical placement of the cat flap.
- Use the template provided to mark the area where you'll be cutting.
- Drill screw holes in each corner of the template to outline the exact cutting area.
- Make sure to drill precise screw holes to securely attach the cat flap to the door.
Use Proper Tools
To ensure a successful installation of the cat flap, utilize a drill with the appropriate bit size to create screw holes for secure attachment.
Make sure the drill holes are evenly spaced and aligned with the mounting points on the cat flap. Using a level is essential to check the alignment of the screw holes for a secure fit.
Remember to pre-drill pilot holes to prevent any splitting or damage to the door when inserting the screws. It's crucial to select screws that are the correct length and diameter to securely attach the cat flap to the door.
Secure Flap in Place
Utilize a drill bit appropriate for the screw size to carefully create pilot holes in the marked locations on the door for precise placement of the cat flap. Ensuring the security of the cat flap is crucial for its functionality and longevity.
Here are some tips to help you secure the flap in place effectively:
- Drill Pilot Holes: Start by drilling pilot holes at the designated spots to prevent damage and ensure accurate alignment.
- Check Alignment: Before fastening the screws, double-check that the cat flap is level and aligned correctly.
- Choose Correct Screws: Select screws that are long enough to firmly secure the cat flap in place without compromising the door.
- Tighten Securely: Once the screws are in place, tighten them securely to prevent any shifting or loosening of the cat flap.
Install Cat Flap Mechanism
Consider positioning the cat flap mechanism at a height that's easily accessible for your feline friend. When installing the cat flap mechanism, ensure it consists of a rigid frame with a flexible flap for smooth entry and exit. The mechanism should be lightweight for easy operation by your cat yet sturdy enough to provide security.
Opt for a cat flap with a locking mechanism to control access, enhancing safety and peace of mind. It's crucial that the mechanism is weatherproof to shield your home against the elements. Installing the cat flap involves securely attaching it to the door to guarantee durability and functionality.
Test and Adjust Cat Flap
Once you've installed the cat flap mechanism, ensure its smooth operation by testing and adjusting it as needed.
- Test the cat flap: Gently push and pull the flap to check for smooth movement.
- Check for obstructions: Ensure there's no resistance hindering the flap's motion.
- Adjust the screws: If the cat flap sticks or doesn't close properly, tweak the screws or alignment.
- Ensure free movement: Confirm that the cat flap swings freely in both directions without any sticking points.
Frequently Asked Questions
How Easy Is It to Put a Cat Flap in a Door?
Putting a cat flap in a door is relatively easy, offering benefits like freedom for your pet. Consider sizes, maintenance, and training. With proper installation and patience, your cat will quickly adapt to using it.
Can You Install a Cat Door by Yourself?
Installing a cat door by yourself is totally doable. DIY installation saves money compared to handyman services. Many pet door options come with clear instructions. Just follow self-installation tips, ensure proper measurements, and you're good to go!
How Do You Install a Cat Door in a Door?
When installing a cat door, ensure you measure accurately, opt for a trusted brand, and weatherproof for longevity. DIY installation offers the freedom to customize. Follow these tips for a successful project.
What Is the Alternative to Cat Flaps?
If you're exploring alternatives to cat flaps, consider electronic pet doors, window inserts, sliding doors, or wall tunnels. These options offer added security and control over your pet's access while preventing unwanted animals from entering your home.
Conclusion
Congratulations on successfully installing a cat flap in your door! Your furry friend will now have the freedom to come and go as they please, enriching their quality of life.
Remember to continue providing positive reinforcement and regular maintenance to ensure smooth operation. With your dedication and care, your cat will surely appreciate the newfound independence the cat flap provides.
Enjoy watching your feline companion enjoy their new freedom!

